Logos & Symbols
The Extinction Symbol was created in 2011 by street artist ESP. It must never be used for (or associated with) any commercial purposes – even fundraising. This is a non-negotiable rule and there are no exceptions.
The symbol does not belong to XR or SR, but is a globally recognized symbol of the climate crisis and is shared by many activist groups. We have modified the extinction symbol to include the warming stripes, and either version may be used, depending on context.
The typographic version of the Scientist Rebellion_ logo can be used to replace the Extinction Symbol, in any occasion in which this cannot be used, either because the context of use does not allow it, or because it's not a good fit graphically.
The logotype above embodies several elements of Scientist Rebellion:
• the warming stripes, a strong visual reminder of the climate crisis
• mono space type in lower case, reminiscent of computer programming: a key element in many scientific disciplines, particularly climate modeling
• the trailing underscore: again, a nod to computer programming and the hacks that allow leaked documents into the public domain
The logotype can be constructed using the typeface and warming stripes graphic, or downloaded as a single image file or an animated gif.
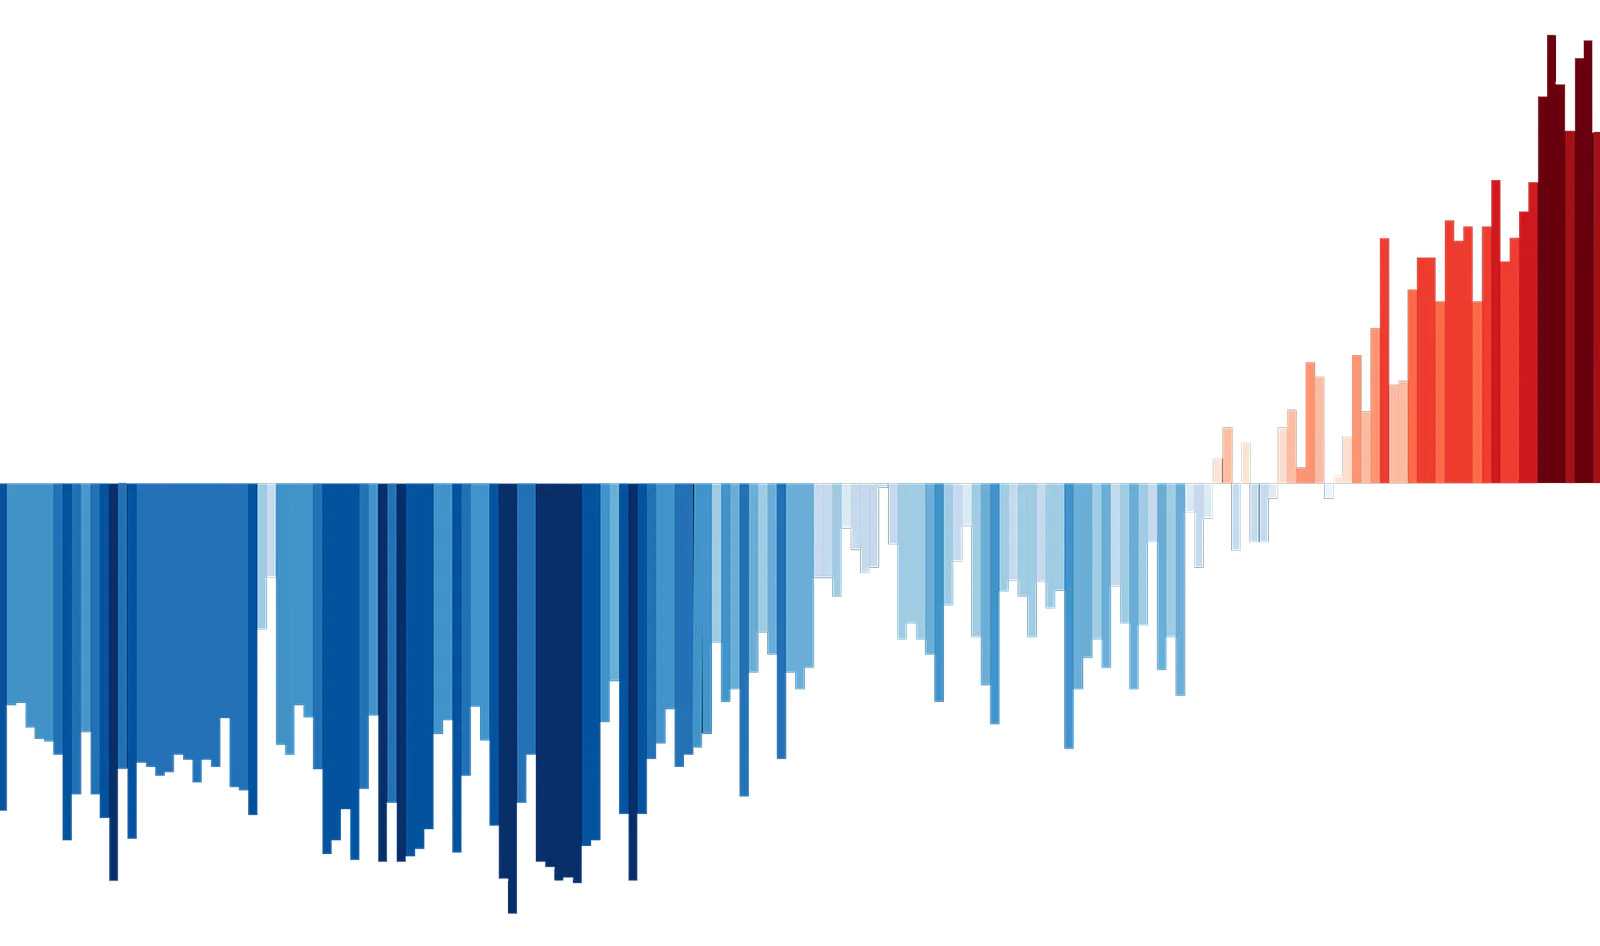

Colors
Our colours are taken from the warming stripes graphic. Primary colours are indicated with asterisks, and their hex codes are given. Non-asterisked colours are secondary colours. The original warming stripes were created by Ed Hawkins and are shared by a CC BY 4.0 license, and can be found and customised by location at showyourstripes.info.
Typography
JetBrains Mono is a free & open source typeface available at jetbrains.com/lp/mono. This is the font found on the Scientist Rebellion_ logo, and can be used for the logo's typography, headings, and shorter text.
Longer text that requires more lengthy reading should be in Inria Sans, which was created by Black Foundry, and is also free & open source. It can be downloaded here.
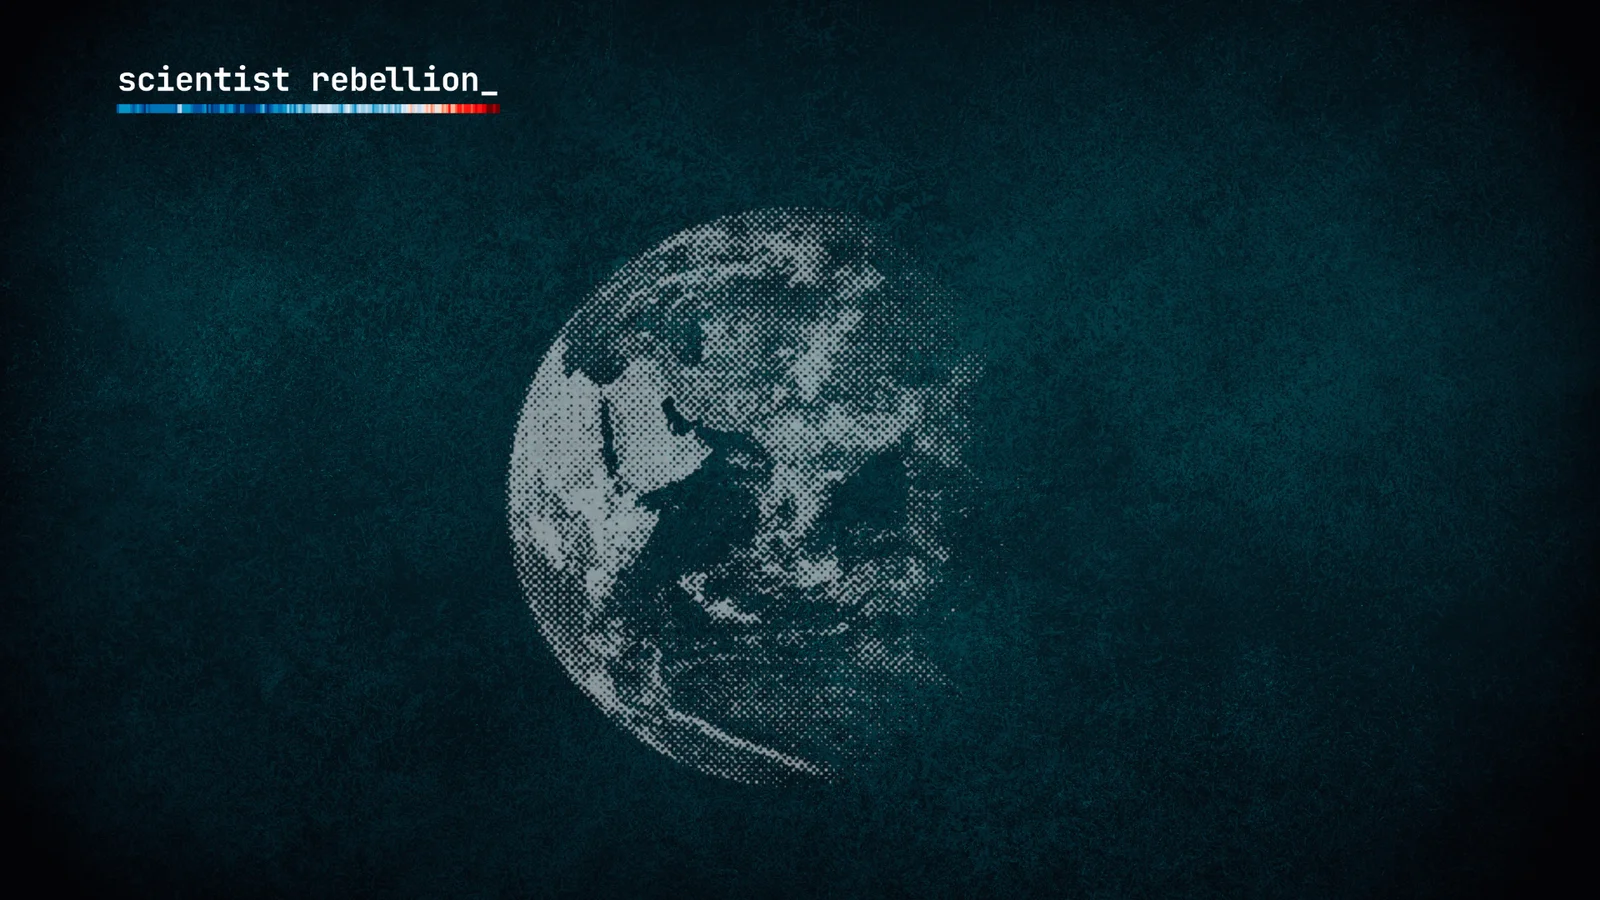
Images
Our key visual design element (in combination with the warming stripes), is half-tone, black-and-white images from photographs.
Half-tone imitates cheap newsprint images and is composed of small black and white dots.
Several basic images in half-tone are provided here, and details are provided of a few methods to make your own half-tone graphics.
Half-tone Graphics
How-to
There are a few different ways to make your own half-tone graphics, in addition to those linked above and on the Full Graphics Folder. Here are a few methods:
Using GIMP
GIMP is a free, open-source software is similar to Photoshop, which you can download from gimp.org.
To create a half-tone image in GIMP:
a) Cut out the image as desired, using the erase tool or magic wand tool
b) Desaturate the image by clicking Colors > Desaturate > Desaturate
c) Boost the brightness and contrast [Colors > Brightness-Contrast]
d) Add the Newsprint filter [Filters > Distorts > Newsprint...]You can adjust the effect by changing the pattern to circle, and changing the period and angle. If the image looks too dark, undo the newsprint filter and re-adjust the brightness and contrast - you want to have very strong contrast and a bright, washed out looking image.
If the dots look too "big", try re-sizing the image first: go to Image > Scale Image, increase the image size, then try applying the newsprint filter again.
Using a browser tool
One example is xoihazard.com/tools/halftone/, but you can searh in your browser for "halftone image generator" to find others. You can tweak the size, shape and angle of the dots until the image is satisfactory.
Using Photoshop
Similar to with GIMP - follow the same steps, but find the filter in:
Filters > Pixelate > Colored Halftone.
You may want to work in Grayscale mode for this, as Colored Halftone adds primary colors (even to monochrome images), and de-saturating the image can create an undesirable grid-like effect on the half-tone image.
You can find more detailed tutorials online - search in your browser for "how to make halftone image in [your software of choice]
QR Code & Stencils

You can create your own version by:
- Searching in your browser for [QR code generator
- Selecting your preferred website
- Entering the URL where indicated on the website you selected
- Downloading the resulting code
- PNG & PDF are the best formats for print
- JPG is preferrable for web
Oftentimes, the QR code will come with a white background. If this is not a desirable feature, you can use GIMP to remove the background by:
- Selecting the Fuzzy Select Tool in your Toolbox. The icon resembles a magic wand.
- Click in the solid space that you want to delete from the image.
- If the selection tool is selecting more or less than intended, use the Threshold option to modify how
- With the entire background selected, press the Delete key to eliminate the background.
- If for some reason the background doesn't disappear, create a new transparent layer and place it behind your image. That should allow you to remove the background.
Important: make sure that your QR code is set against a high-contrast background, or there's the possibility it won't be scanned properly. When customizing the colors of the QR code, make a printed test first to make sure the QR code is still working after being modified.
Stencils can be used to reproduce the same images, or typography, onto different surfaces. Depending on what material you choose to make them with, they can be very versatile, and be used multiple times.
The stencils available for download here are print ready, but you can also easily make your own.
This is one way you can design, print and make your own stencils:
- You can start by using a digital software like GIMP to create your design, or draw by hand directly on the material you intend to cut.
- Opt for a design without a lot of intricate cutouts or curved edges. Straight lines and simple shapes are easier to cut.
- Print your design either directly onto a water resistant paper, or vinyl.
- Alternatively, print/draw your design in a standard sheet of printing paper, and trace with a permanent marker onto the vinyl/water resistant paper
- Use and X-Acto knife to cut your stencil
- Secure the stencil to your surface with tape
- Use your paint of choice to cover the spaces in the stencil you have cut open with your X-Acto knife. You can use a paint brush, sponge, or spray paint for this.
- You can often find these paints in craft stores.
- Follow the instructions on the bottle how to apply and affix the paint onto your desired surface.
- Wait for the paint to dry before removing the stencil.
- Repeat the process for as many times as your vinyl/water resistant paper will hold.
Zoom Backgrounds
Whether for meetings, talks, or events, these Zoom backgrounds can be useful to help maintain the privacy of your location and those around you, and reinforce your association with Scientist Rebellion. All versions here are available for download and use by any member or ally of Scientist Rebellion. More versions can be added over time, so feel free to periodically stop by to check for updates!